


Video production is the backbone of a successful YouTube channel. Whether you’re a beginner vlogger or an aspiring filmmaker, understanding the process of planning, shooting, and editing videos can drastically improve the quality of your content — and your channel’s growth.
Creating great content isn’t just about what’s in front of the camera; it’s about how you bring it all together. In this guide, we’ll walk you through the essential stages of YouTube video production — from pre-production to publishing.
Why Video Production Matters on YouTube
With millions of videos uploaded daily, standing out requires more than just a good idea. A well-produced video:
· Keeps viewers engaged longer
· Encourages likes, comments, and shares
· Increases watch time (a key ranking factor in YouTube’s algorithm)
· Builds credibility and professionalism
Even basic improvements in lighting, audio, or editing can turn a casual viewer into a loyal subscriber.
Stages of YouTube Video Production
1. Pre-Production: Planning Your Video
Before you hit “record,” plan your video thoroughly. This stage sets the foundation.
· Define your objective: What is the purpose of this video? (To entertain, educate, inform, etc.)
· Script or outline: Even a basic structure helps you stay on track and avoid rambling.
· Storyboard (optional): Visualizing your shots can help if you’re creating a narrative or complex video.
· Gather equipment: Camera, tripod, mic, lights, batteries, and props.
· Scout your location: Ensure good lighting, quiet surroundings, and a clean background.
💡 Tip: Good planning saves hours in editing.
2. Production: Filming the Video
Now it’s time to shoot your content.
✅ Essentials for a Smooth Shoot:
· Camera: A smartphone can work, but DSLRs or mirrorless cameras provide better quality.
· Audio: Use a lavalier or shotgun microphone for clear sound. Bad audio is one of the top reasons people stop watching.
· Lighting: Use natural light or affordable softbox lights. Avoid harsh shadows.
· Composition: Follow the rule of thirds. Keep your subject framed well with space around them.
· Take multiple shots: Film more than one take to give yourself editing options.
💡 Tip: Keep your background uncluttered and relevant to your niche.
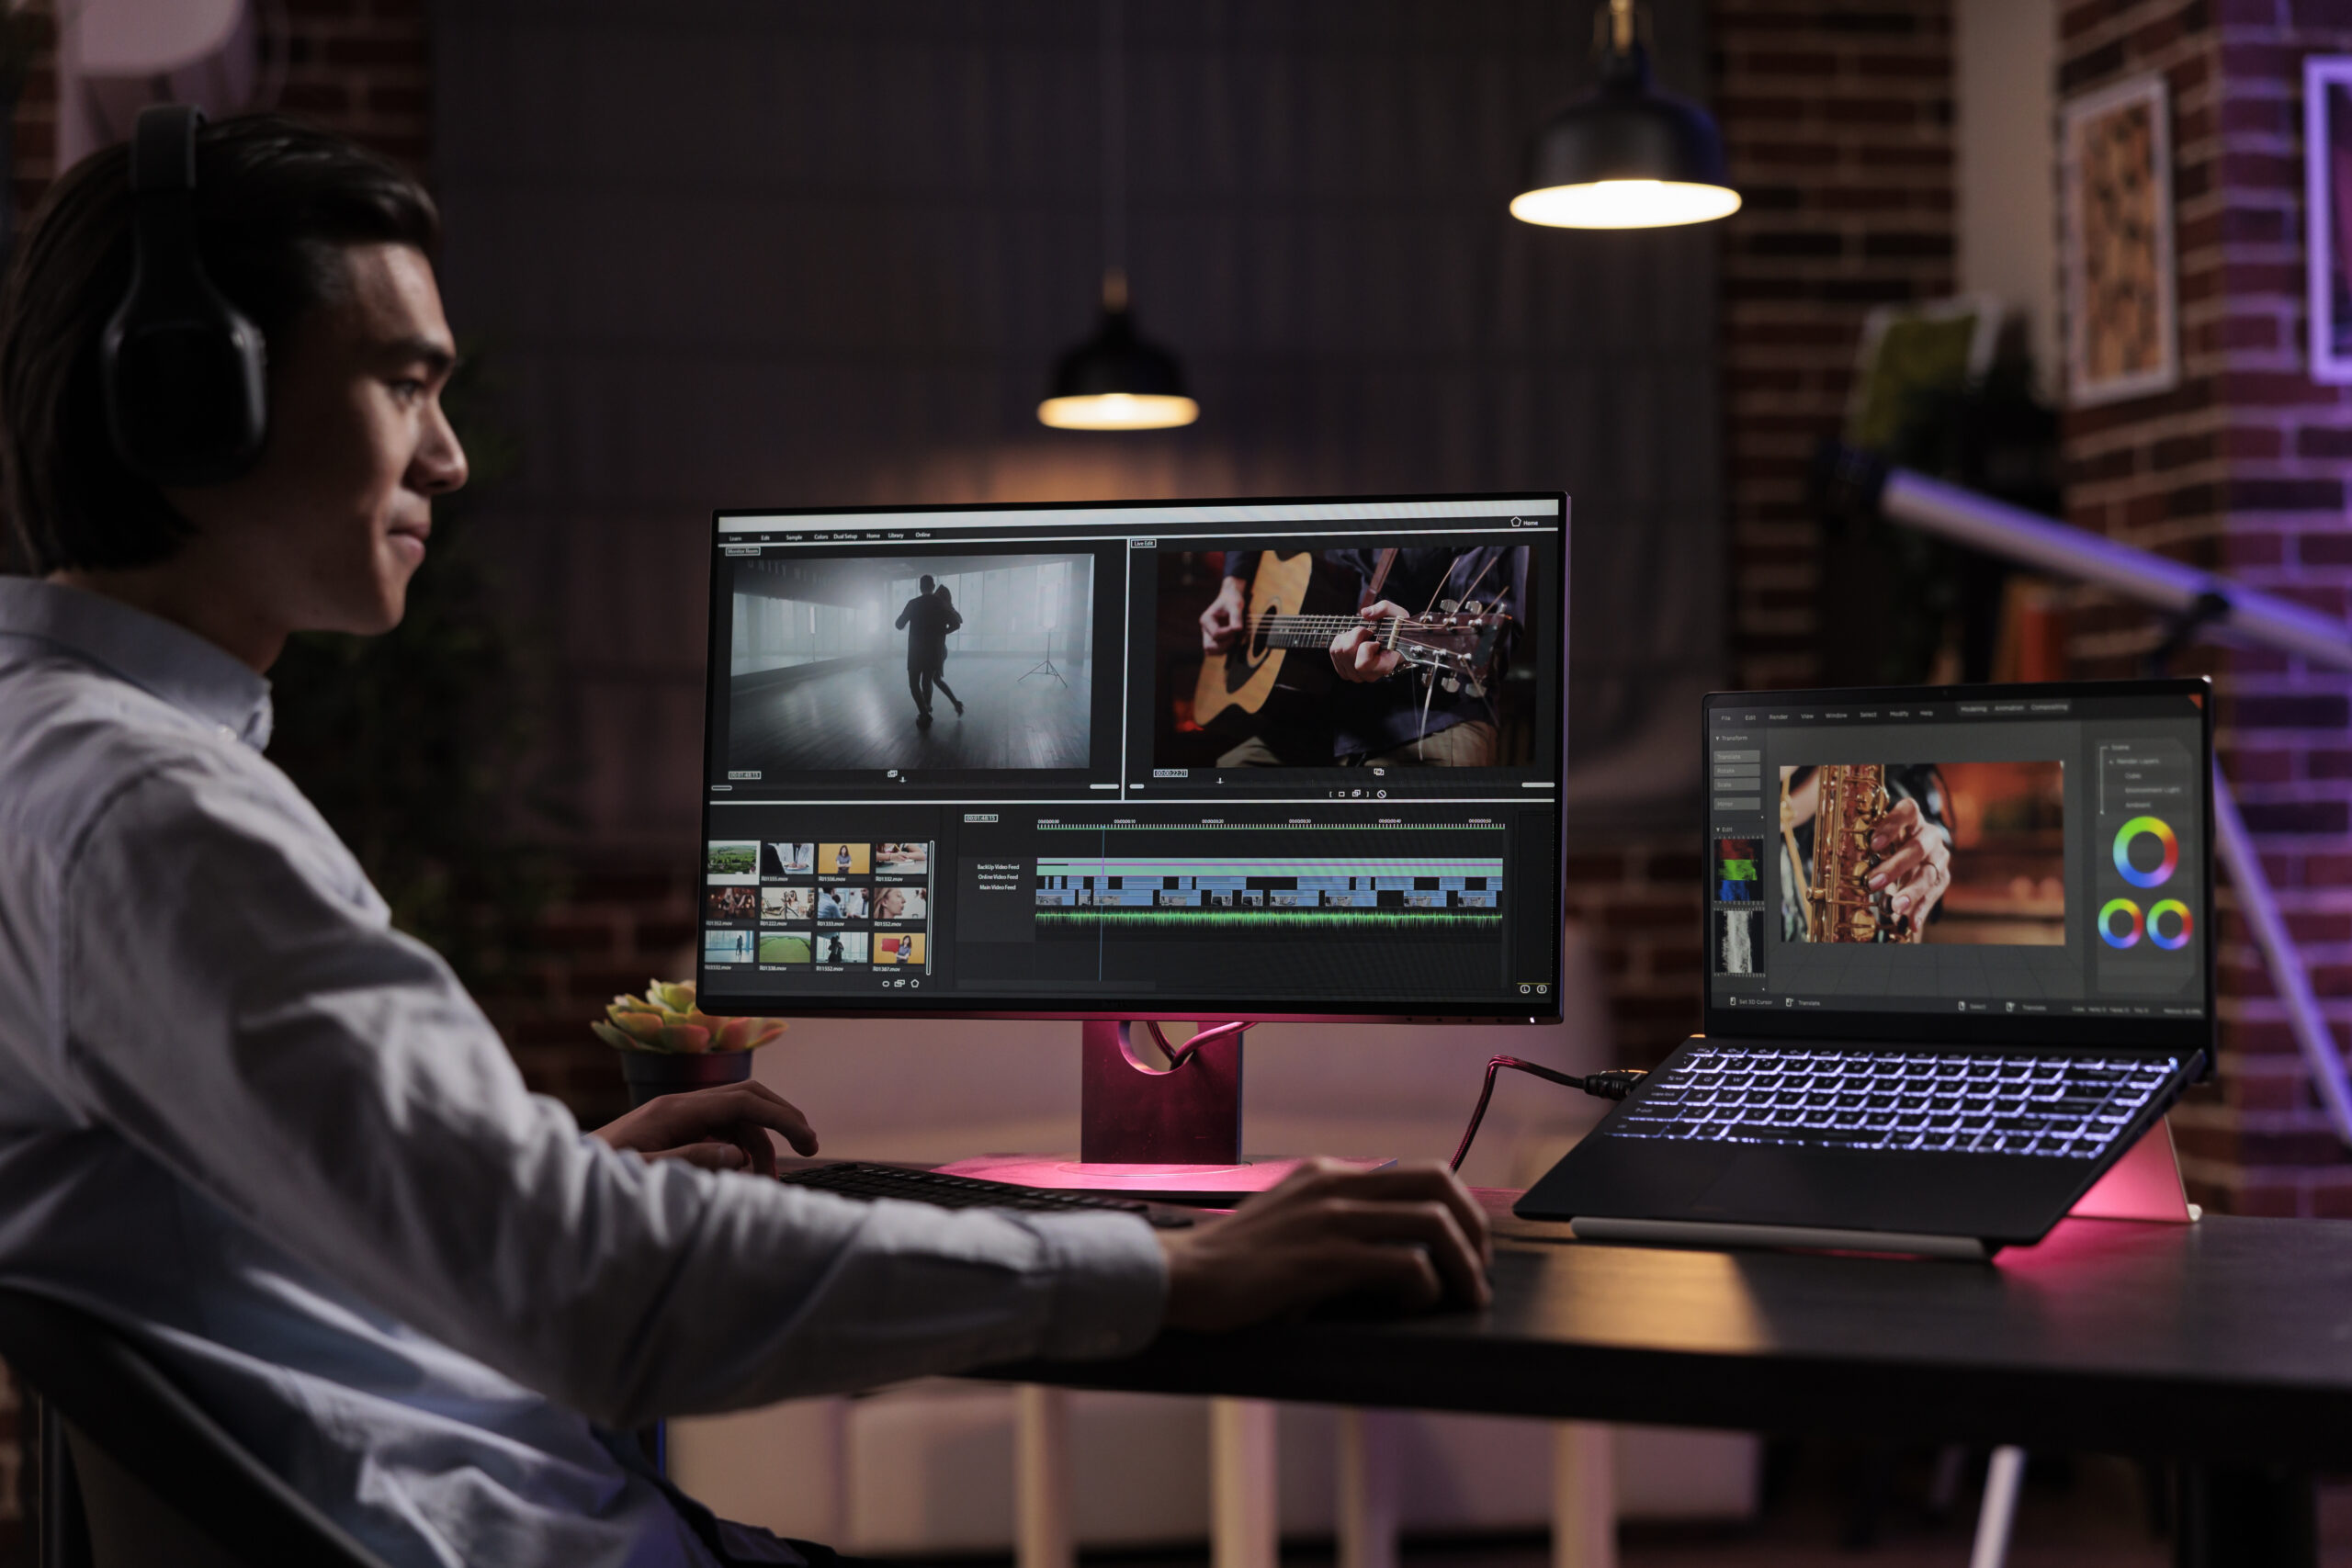
3. Post-Production: Editing the Video
Editing is where your raw footage becomes a polished, engaging video.
🛠️ Key Steps:
· Cut unnecessary parts: Remove pauses, mistakes, or off-topic moments.
· Add transitions and text: Use smooth transitions and on-screen text for clarity or emphasis.
· Incorporate music: Use royalty-free music that matches the tone of your video.
· Add effects and B-roll: Enhance visuals with overlays, B-roll footage, and animations.
· Sound design: Adjust background music volume and make sure voices are clear and balanced.
Popular editing tools:
· Beginner-friendly: iMovie, CapCut, InShot
· Intermediate to Advanced: DaVinci Resolve, Adobe Premiere Pro, Final Cut Pro
Publishing & Optimization
Once your video is edited, it’s time to upload and optimize it.
Checklist:
· Engaging title (with keywords)
· Eye-catching thumbnail
· SEO-friendly description and tags
· Add to relevant playlists
· Use YouTube cards and end screens
· Enable subtitles/captions
· Schedule your post for optimal time
💡 Tip: Your title and thumbnail are your first impression — make them count!
Useful Resources
Here are some tools and platforms to help with different stages of video production:
Equipment & Gear
· Rode Wireless GO – Wireless mic for clear audio
· Neewer Lighting Kits – Affordable softbox lighting
· Joby GorillaPod – Flexible tripod for vlogging
Editing Software
· DaVinci Resolve – Free, pro-level editor
· Adobe Premiere Pro – Industry-standard editing suite
· CapCut (Desktop & Mobile) – Easy and intuitive
Learning Platforms
· YouTube Creator Academy – Free official YouTube training
· Skillshare & Udemy – Courses on editing, lighting, storytelling
· Think Media (YouTube) – Gear reviews and creator tips
⚠️ Disclaimer
This blog is for informational and educational purposes only. The strategies, tools, and advice shared here are based on general best practices and may not guarantee specific results. Individual outcomes may vary depending on content type, effort, equipment, and changing YouTube policies or algorithms. We are not affiliated with or endorsed by YouTube or any specific product mentioned above. Always follow YouTube’s official community guidelines and copyright rules.